Handling rejected ads should follow a structured troubleshooting workflow. Most advertisers waste time guessing. Instead, apply a systematic correction process.
When an ad is rejected, do not panic or immediately duplicate it. First, identify the real cause.
Most rejections come from text, not only visuals, and the most common trigger is talking directly about the user’s problem.
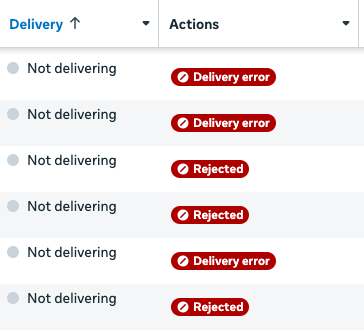
Rejection occurs in some advertisements. So:
Read the Rejection Reason Carefully
Identify Which Area is the Problem
Edit the Ad
Request Review
Handling rejected ads should follow a structured troubleshooting workflow. Most advertisers waste time guessing. Instead, apply a systematic correction process.
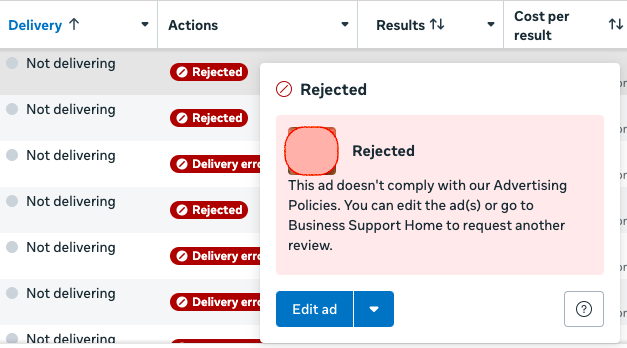
Step 1 – Read the Rejection Reason Carefully
Go to:
Ads Manager, then
Select the rejected ad, then
Delivery Column Rejected (in red), then
View Details
Meta usually provides:
Policy category
Short explanation
Link to policy section
Important: Meta explanations can be generic, so you must interpret the actual issue.
Example:
Personal attributes violation – Usually means wording like: Are you suffering from… or Do you have…
Step 2 – Identify Which Area is the Problem
Use your 3-part diagnostic:
A. Visual Problem?
Check the image/video.
Typical fixes:
Remove before/after comparison
Replace close-up “problem” photos
Use neutral or lifestyle visuals
Avoid highlighting insecurities
B. Text Problem?
Check:
Primary text
Headline
Description
Typical fixes:
Change wording from personal → general
Example:
❌ Do you have white hair? ✅ White hair solutions available
❌ Fix your ugly face ✅ Improve your facial beauty with modern treatment
Pattern to avoid:
Do you have…
Are you tired of…
Struggling with…
Safer pattern:
Solutions for…
Professional treatment for…
Modern approach to…
C. Destination Problem?
Check the landing page.
Typical fixes:
Make sure the page loads correctly
Ensure page content matches the ad content
Remove misleading claims
Add trust signals: real info, contact details, clear explanation
Step 3 – Edit the Ad (Do NOT Always Duplicate)
Best practice: Edit the rejected ad first.
Why? Meta keeps learning data connected to the ad structure.
Only duplicate if:
many elements need major change
you want to test a different angle
Step 4 – Request Review
After fixing the issue:
Ads Manager → Edit → Publish
Meta will automatically review again.
If you strongly believe the rejection is incorrect:
Use: Request Review
But do this only if: you are confident the ad follows policy
Step 5 — Keep a Safe Version Library
Smart advertisers build a library of:
approved creatives
approved wording templates
safe landing pages
This reduces future rejections.
Example library:
Safe headlines
Safe description phrases
Approved image styles
Step 6 – Improve Future Ads Using the Rejection
Each rejection is valuable feedback.
Ask:
What triggered the rejection?
How can we avoid this next time?
Also, it is nice to document:
Ad
Reason rejected
Fix applied
After 10–20 ads, patterns become clear.
Fast Troubleshooting Checklist
When an ad is rejected, check:
Visual
before/after comparison?
sensitive body area?
shocking image?
Text
calling out the user?
unrealistic promise?
aggressive tone?
Destination
misleading page?
mismatch message?
low trust?
Instead of seeing rejections as obstacles, treat them as feedback that helps improve ad quality, trust, and long-term performance. With a structured approach and a library of compliant creatives and copy, you will reduce rejections, launch campaigns faster, and build more stable advertising systems.